-
“If you are not willing to risk the unusual, you will have to settle for the ordinary.”
Jim Rhom
Meta
Be sure to follow the links on your confirmation e-mail
Porsche Aircraft Experience
For all of you that live in the Atlanta, GA area, come out and visit me this Friday May 6th at Peachtree Dekalb Airport (PDK). I will be there along with the “SuperHawk” in a static display at the Porsche Aircraft Experience. You will be able to meet Sean Hachem with Hawk Avionics and Mo Holcombe with AV8Rtraining.com
On Friday May 6th, 2011, Epps Aviation at Peachtree Dekalb Airport is hosting the 2011 Porsche Aircraft Experience from 10 am to 4 pm.
Posted in Aviation Articles
Tagged airshow. air show, business aviation, Cessna, general aviation, Porsche
Leave a comment
Cessna Preflight Exterior Inspection
Cessna preflight exterior inspection
NOTE**the following information is a general inspection tool. You should use the POH preflight inspection check list that is issued by the aircraft manufacture for the aircraft in which you are flying.
Visually inspect the aircraft for general condition during the walk around.
In cold weather, remove even small accumulations of frost, ice or snow from wing, tail and control surfaces.
Also be sure all control surfaces contain no internal accumulations of ice or debris.
If night flight is planned, check operation of all lights, and make sure a flash light is available.
Check aircraft documents (AROW) A – Airworthiness Certificate, R – Registration,
O – Pilot Operating Handbook (specifically the Operating Limitations),
W – Weight and Balance.
1) Start in the front left seat. Set parking brake
A) Remove control wheel lock and Pitot cover.
B) Check ignition switch off.
C) Turn on master switch and check fuel quantity indicators and lower flaps.
D) Check fuel selector valve on both.
E) Turn on all lights and pitot heat.
F) Check pitot heat and lights to be working.
G) Turn off pitot heat, lights and master
H) Check baggage door for security.
2) Tail section.
A) Remove rudder gust lock, if installed.
B) Disconnect tail tie down.
C) Check control surfaces for freedom of movement and security (Check all connection nuts, keys and cables).
D) Check counter weights
E) Stabilizer leading edge
F) Check antennas.
3) Right wing.
A) Check Ailerons for freedom of movement and security (Check all connection nuts, keys and cables).
B) Disconnect wing tie down.
C) Check main wheel and tire for proper inflation and leaking fluids.
D) Before the first flight of the day and after each refueling, use fuel sampler cup to drain a small quantity of fuel from the tank sump quick drain valve to check for water, sediment, and proper fuel color.
E) Visually check fuel quantity; then check to be sure fuel filler cap is secure.
F) Check wing leading edge and strut.
4) Engine area.
A) Check oil level. Refer to your aircraft manual for required quantity.
B) Before the first flight of the day and after each refueling, pull out the fuel strainer drain for about 4 seconds to clear fuel strainer of any water or sediments. Check strainer valve to be closed. If water is observed, the fuel system may contain additional water. Further draining will be required.
C) Check the propeller and spinner for nicks and security.
D) Check belts for tightness.
E) Check air inlet for obstructions and cleanliness.
F) Check nose wheel tire for proper inflation and any leakage.
G) Check static source opening.
H) Check cowling to be secure.
5) Left wing
A) Check main wheel tire for proper inflation and leakage.
B) Before the first flight of the day and after each refueling, use fuel sampler cup to drain a small quantity of fuel from the tank sump quick drain valve to check for water, sediment, and proper fuel color.
C) Visually check fuel quantity; then check to be sure fuel filler cap is secure.
D) Remove Pitot tube cover, if installed, and check pitot tube for stoppage.
E) Check fuel tank vent opening for stoppage.
F) Check stall warning vent opening for stoppage.
G) Disconnect wing tie down.
H) Check Ailerons and flaps for freedom of movement and security (Check all connection nuts, keys and cables).
I) check leading edge.
Posted in Aviation Articles
Tagged aircraft, Cessna, faa, flight instructor, preflight, Private Pilot Insider, Private Pilot License
Leave a comment
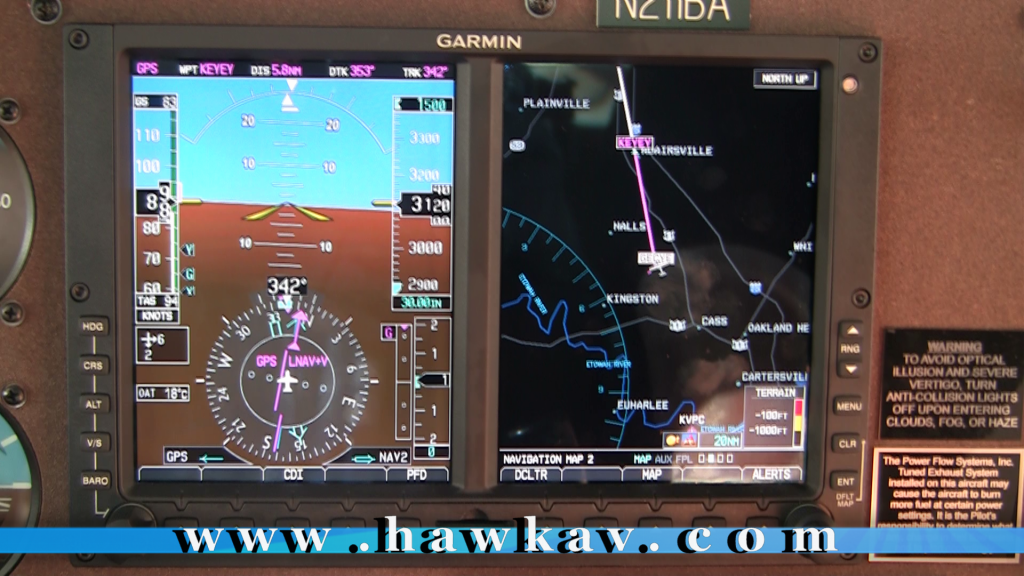
The Garmin G600

click here to play the demo video of the Garmin G600 in action.
The following video is an example of an instrument approach using the Garmin G600 which is installed the Super Hawk. This equipment was installed by Hawk Avionics of Calhoun, GA The Garmin G600takes all the guess work out of flying. If you would like to personally test the Garmin, the Avidyne EX 600, the Auracle CRM2100 or any of the instruments in the Super Hawk you can contact me at tommy@34.225.91.143 to schedule a demo flight.
Which way should you go?
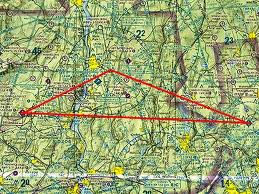
Grandpa may have told you in the past that the quickest way between two points is a direct line. The route with the least amount of turns can prove to be the fastest. If you are a fan of Nascar you will notice as the drivers round the track they will ride high on the straight away and down low on the turns. In doing this it enables the drivers to take the turns quicker. Turns are a requirement of Nascar but not so in aviation.
If we choose to take the direct route on a trip from point A to point B is that necessarily wrong? No, but is it always right? No again. For the answer to this we ask Matt Conway, chief flight instructor of American Flyers of Atlanta located at the KPDK airport.
On the topic of “Advanced Navigation” Matt notes several factors in which need to be considered when developing a cross country flight plan. 1. Route planning 2. Check points 3. Altitudes 4. Airspace avoidance
When choosing a heading and altitude you should note the winds aloft at several different altitudes along your planned route of flight. You will not only want to check winds on your route but off the route as well. For example, let’s say your route took you on an easterly heading of 090 degrees and the winds aloft at 8000’ were 310@20kts. You may, (depending on the terrain and airspace of course) find that flying a lower altitude to a check point north east of your route then intercepting a higher altitude for the remainder of the trip will not only produce a quicker ETA but also due to the tail wind you will have on your second leg will also reduce fuel usage as well.
Be sure to also consider other factors such as weather, MOA’S, restricted areas, mountainous terrain, airspace and any other factor which may affect your travels. Always remember, It is much easier to plan on the ground and make small adjustments in the air then to try to figure it out at 8000’.
Tommy Eldridge


